Do you want to record your screen activity for a gameplay video, lesson, or demonstration? Screen recording is a fantastic tool for making interesting material, imparting knowledge, or just keeping special moments from your online adventures alive. Fortunately, screen recording on a PC has been simpler with the right software, like Wondershare DemoCreator.
This is one of the leading handy tools for creating engaging videos, using an efficient and user-friendly interface. In this guide, we will walk you through a step-by-step tutorial on how to record a screen using the Wondershare DemoCreator tool.
Let’s get going!
Part 1: Installing and Setting Up DemoCreator
In the very first part of this guide, you will get step-by-step instructions. They are for downloading, installing, and setting up DemoCreator.
So, let’s explore the step-by-step instructions below and understand how to record a screen on a PC.
Step 1: Download DemoCreator Screen Recorder on PC
Visit DemoCreator’s official website- to get the software.
Search for the download link or button, which is usually very visible on the home page. To begin the download process. Click on it.
Step 2: Install DemoCreator
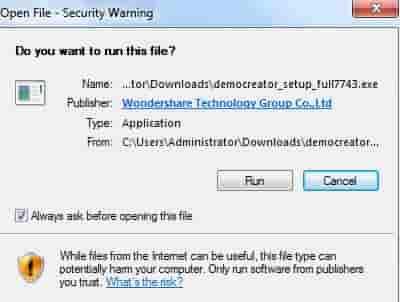
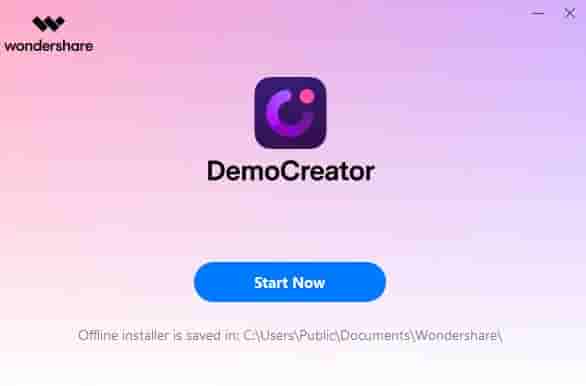
Once you finish the download, you can find the downloaded file on your PC. Click on the downloaded file twice to begin the installation process.

You can finish the installation by following the instructions provided by the installation wizard on the screen.
Step 3: Launch DemoCreator
After installing, find the DemoCreator icon in the program’s folder or on your desktop. You may launch the program by double-clicking the icon.
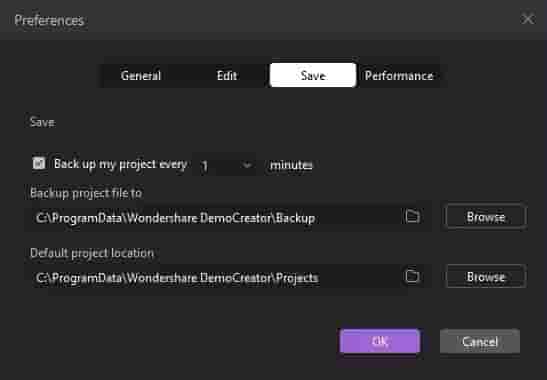
Step 4: Setting up Preferences
DemoCreator may ask you to configure preferences based on your needs and preferences. Language preferences and the installation folder are two examples of these.
If necessary, make changes to these settings and click “save” or “apply” to finish.

Step 5: Select Recording Settings
You can customize your recording settings in Wondershare DemoCreator. For example, you can choose to record the entire screen. Or you can record a specific application window or a specific region of your screen.
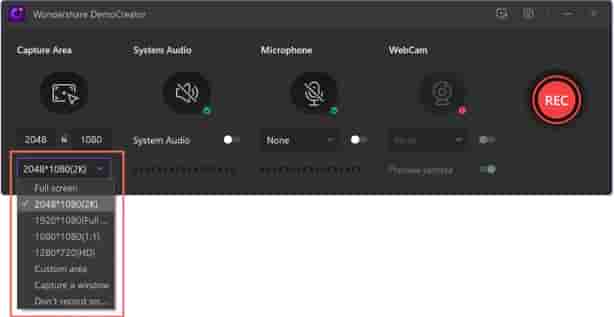
Moreover, you can choose the frame rate for your recording.
Part 2: Recording Your Screen with DemoCreator
We have already introduced Wondershare DemoCreator and its initial procedure. Now it’s time to start recording screens with this wonderful tool.
Here we have a step-by-step guide. Check it out:
Step 1: Start Recording
Once you’ve adjusted the recording settings, it’s time to begin recording. To start recording your screen, select the screen option.
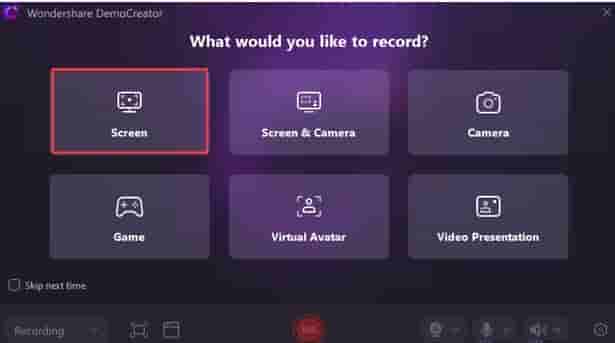
After that, click the “Record” or “Start Recording” button on the toolbar.
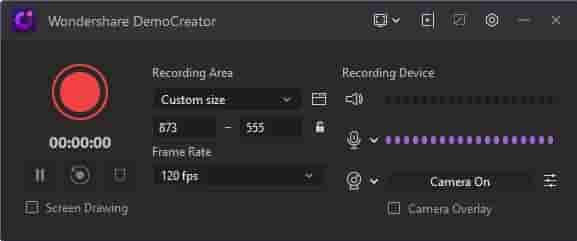
Step 2: Pause and Resume while recording (optional)
If you need to take a little break during the recording process, pause the recording by clicking the pause button in the recording toolbar.
To resume recording, click the “resume recording” button. While the F9 can perform both these functions.
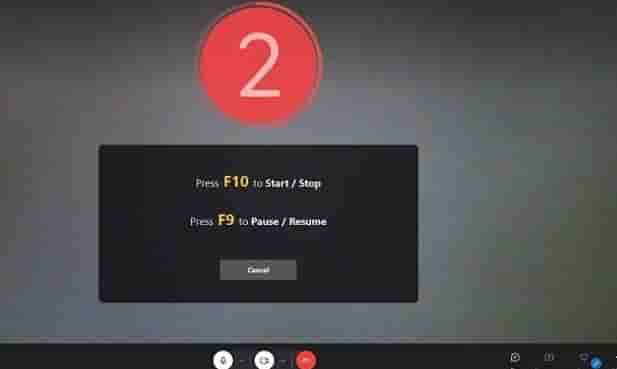
Step 3: Stop Recording
Click the “Stop Recording” button in the toolbar when you finish. This will end the screen recording session. Moreover, you can press F10 to stop.
Step 4: Save your Recording
DemoCreator will ask you to save your recorded video after it stops recording. Select where you want the file saved on your PC and give the recording a filename.
Part 3: Editing Your Recorded Videos
A key step in improving your content is editing your recorded videos. This will increase their engagement.
So, let’s go over how to use DemoCreator’s editing tools to increase its engagement by editing your recorded videos in step by step tutorial:
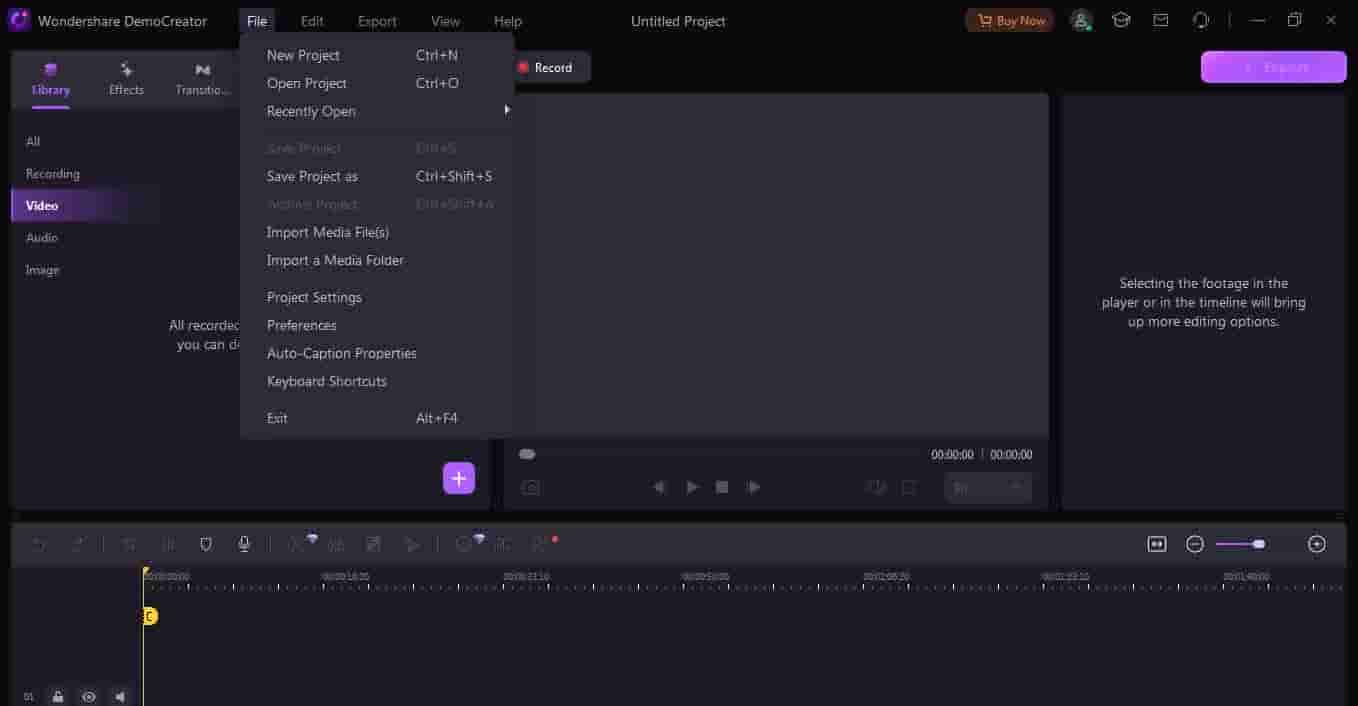
Step 1: Select recorded video
Choose the recorded video you wish to edit by clicking the “Open Project” button.
Step 2: Trim or Cut Unwanted Parts
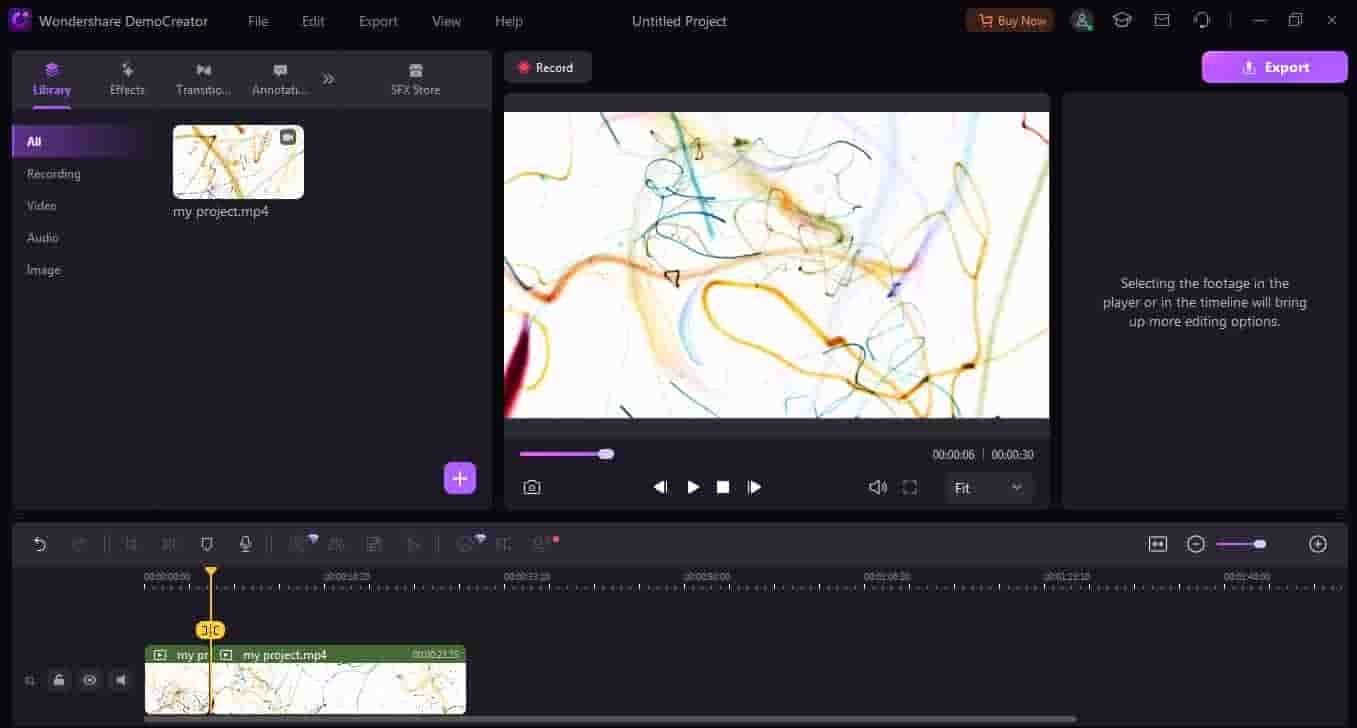
Once you open the video, it will appear in the timeline at the bottom of the interface.
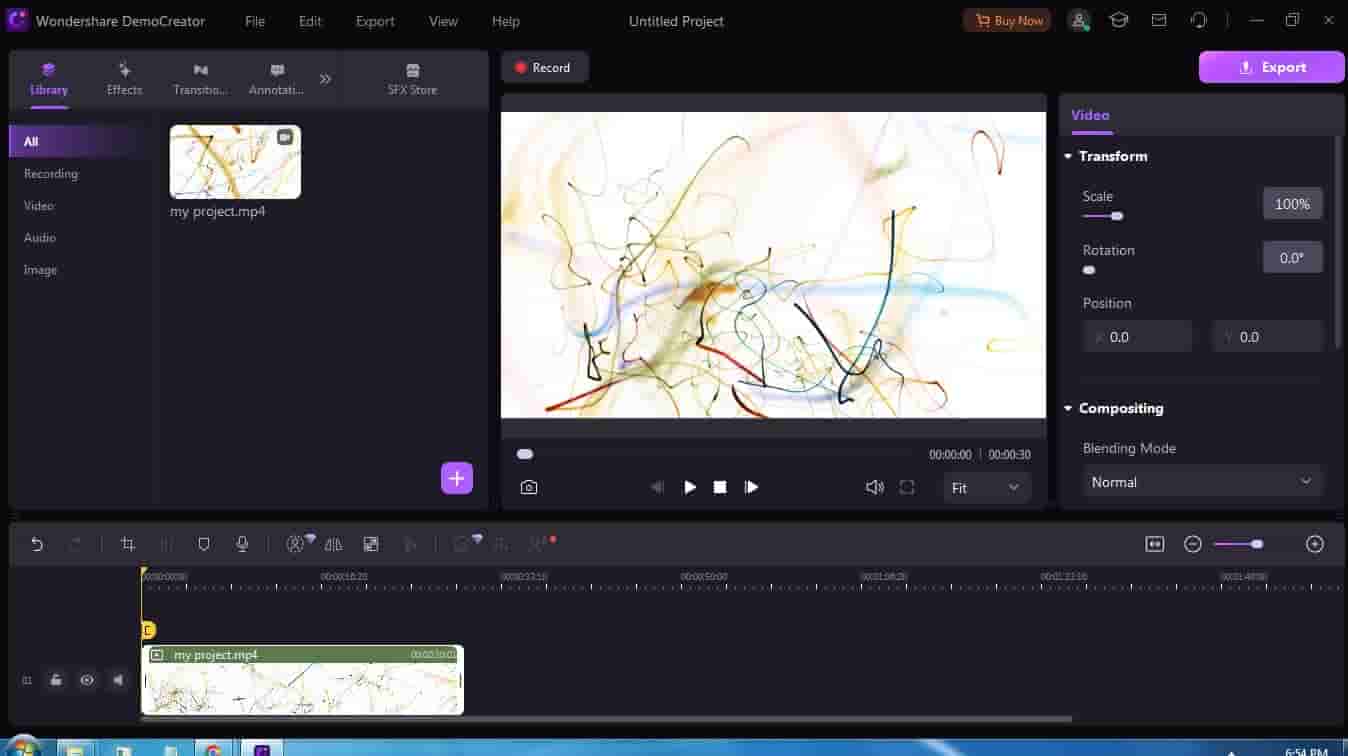
Place the play head at the starting point. Then, trim out the unwanted parts.
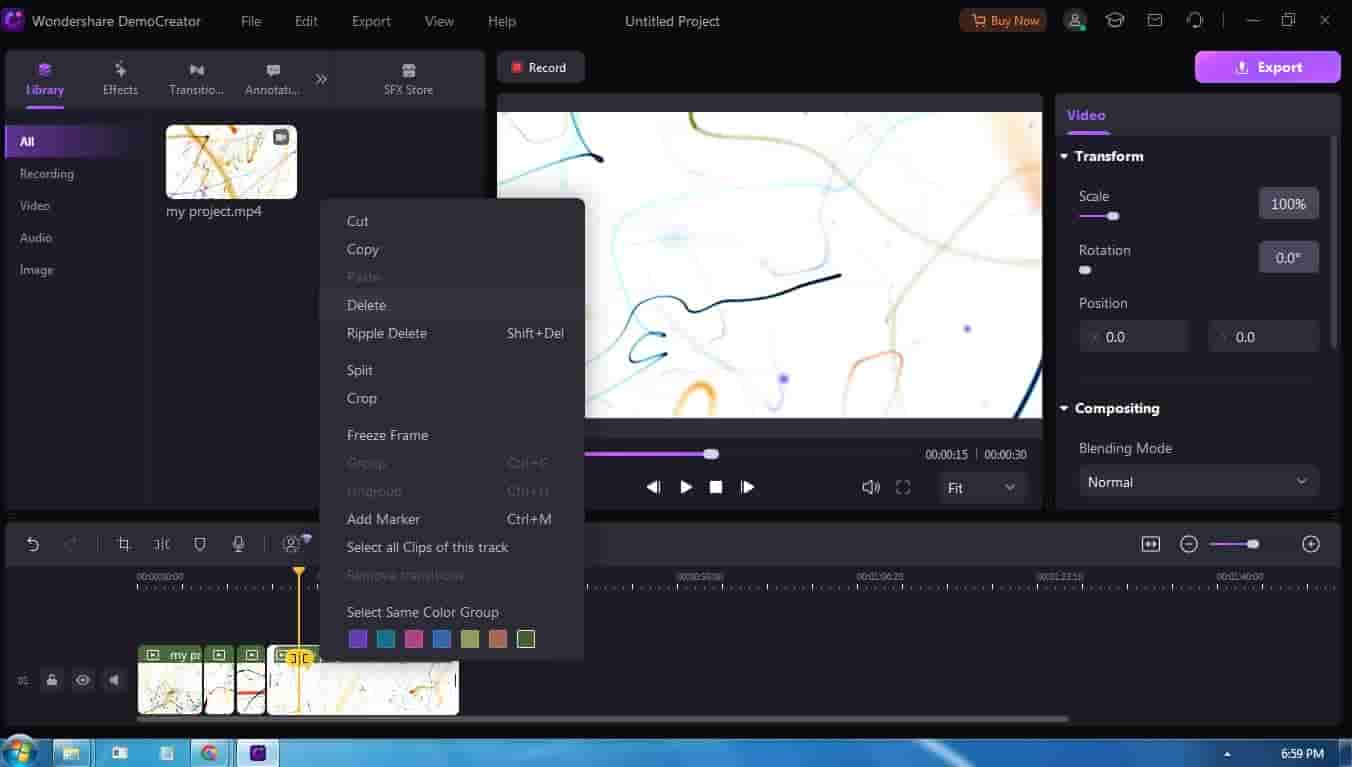
Right-click on the video clip and choose split from the context menu. This will split the video at the playhead position.
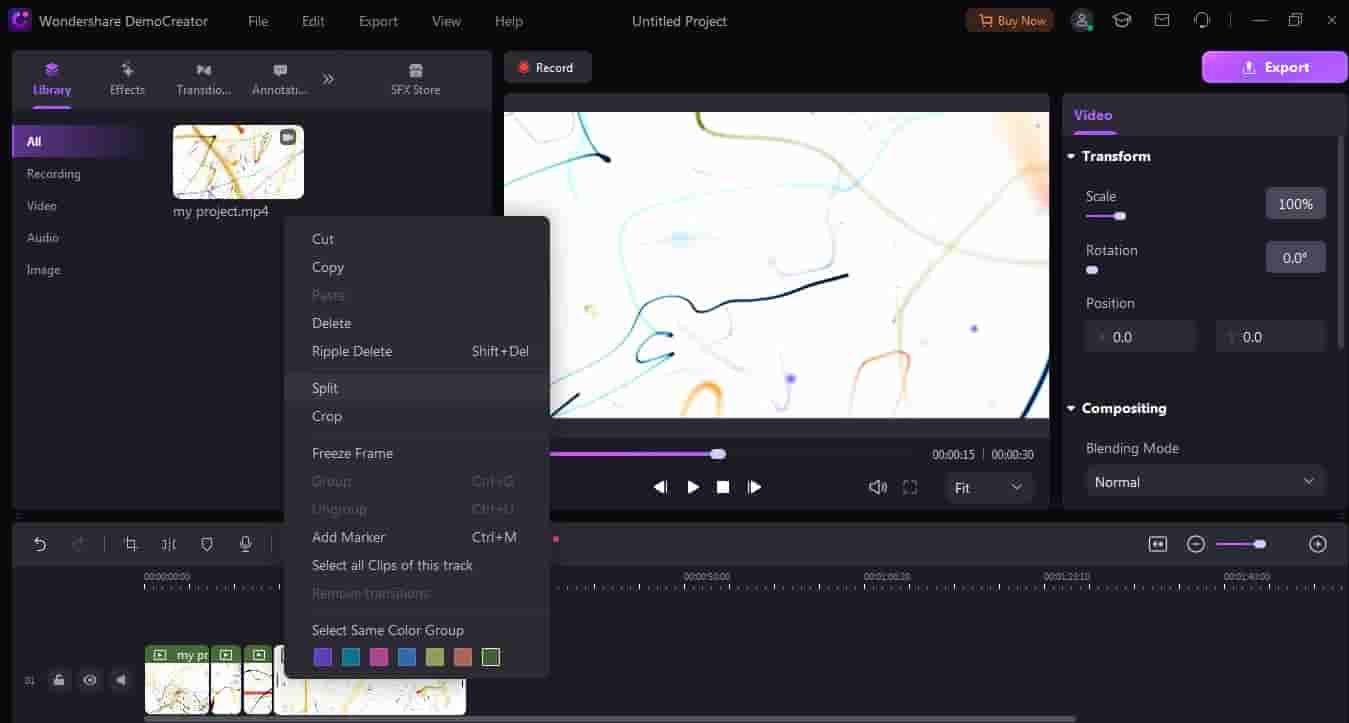
To delete the segment of the video, select it between the split points. Then, press delete.
Step 3: Add Annotations and Effects
To enhance your videos, DemoCreator provides a wide range of effects and annotations. Click the annotations tab in the toolbar. Use it to add stickers, annotations, or text overlays.
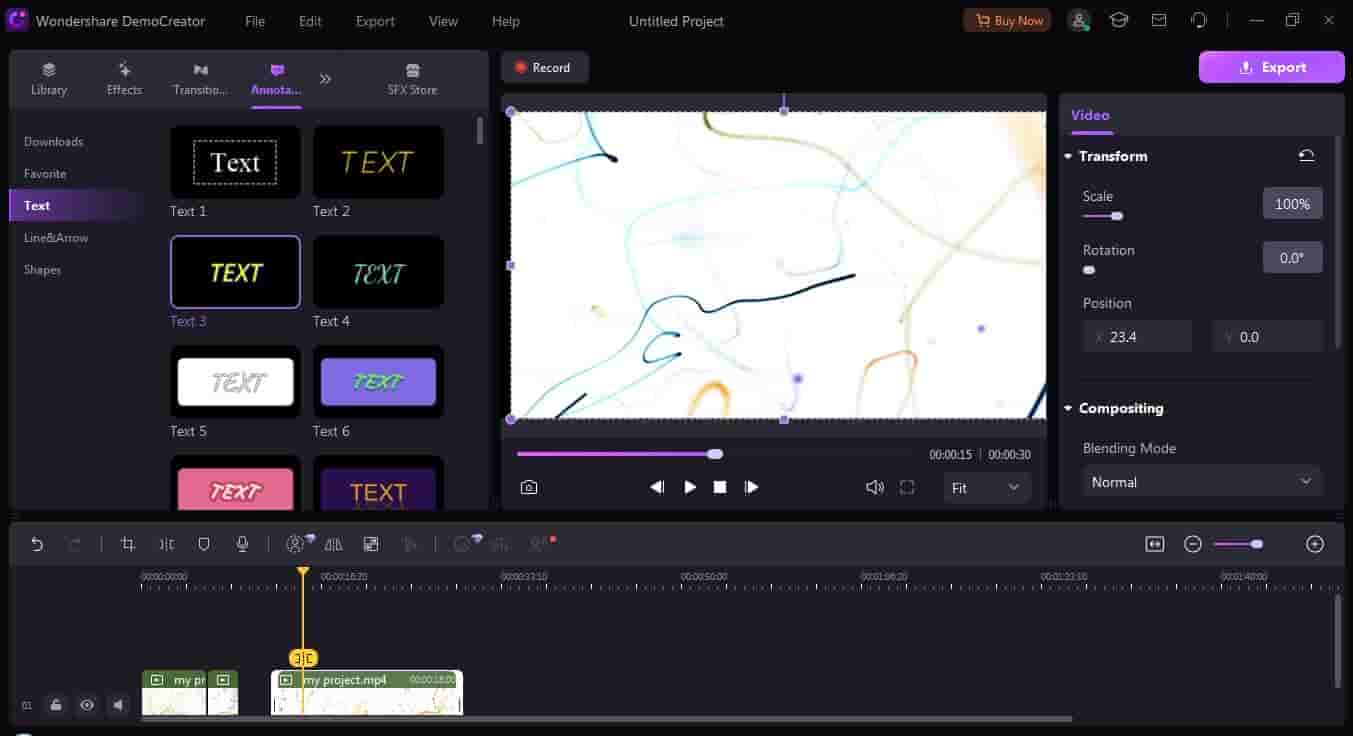
Use the editing panel to change the font, color, size, and opacity of the annotation.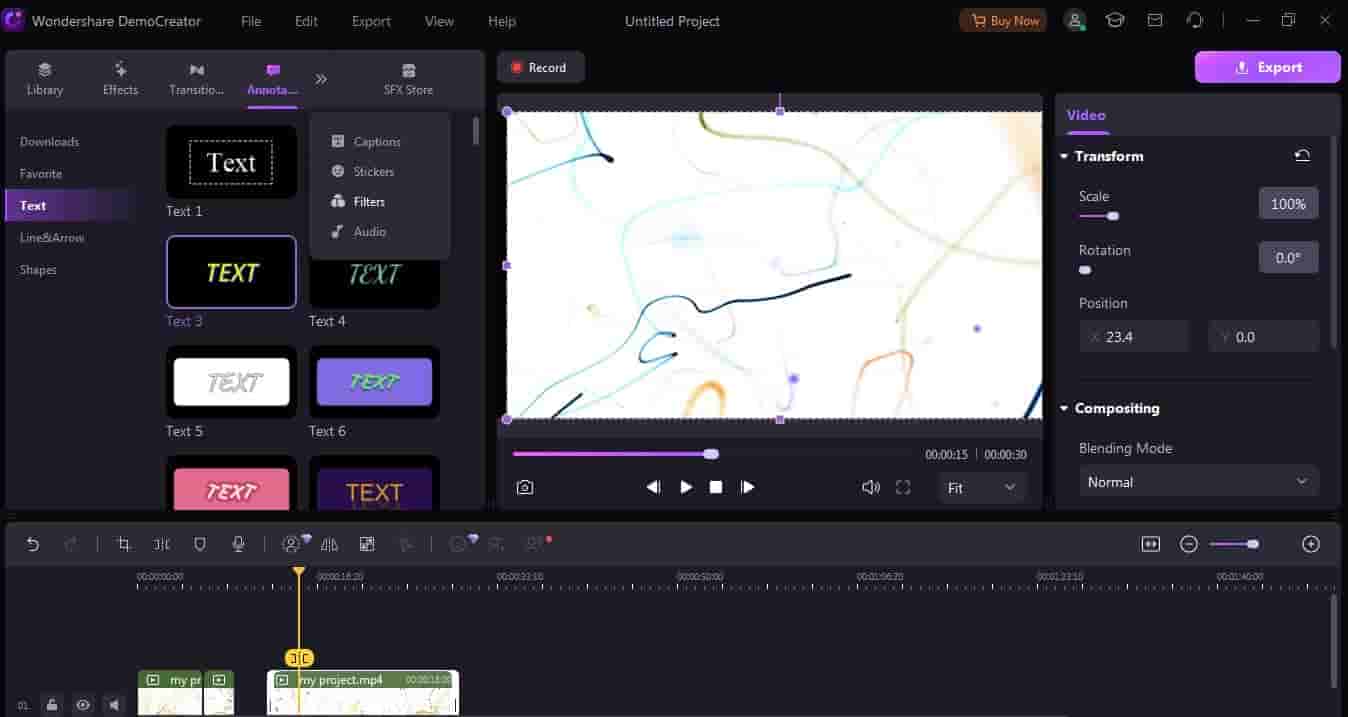
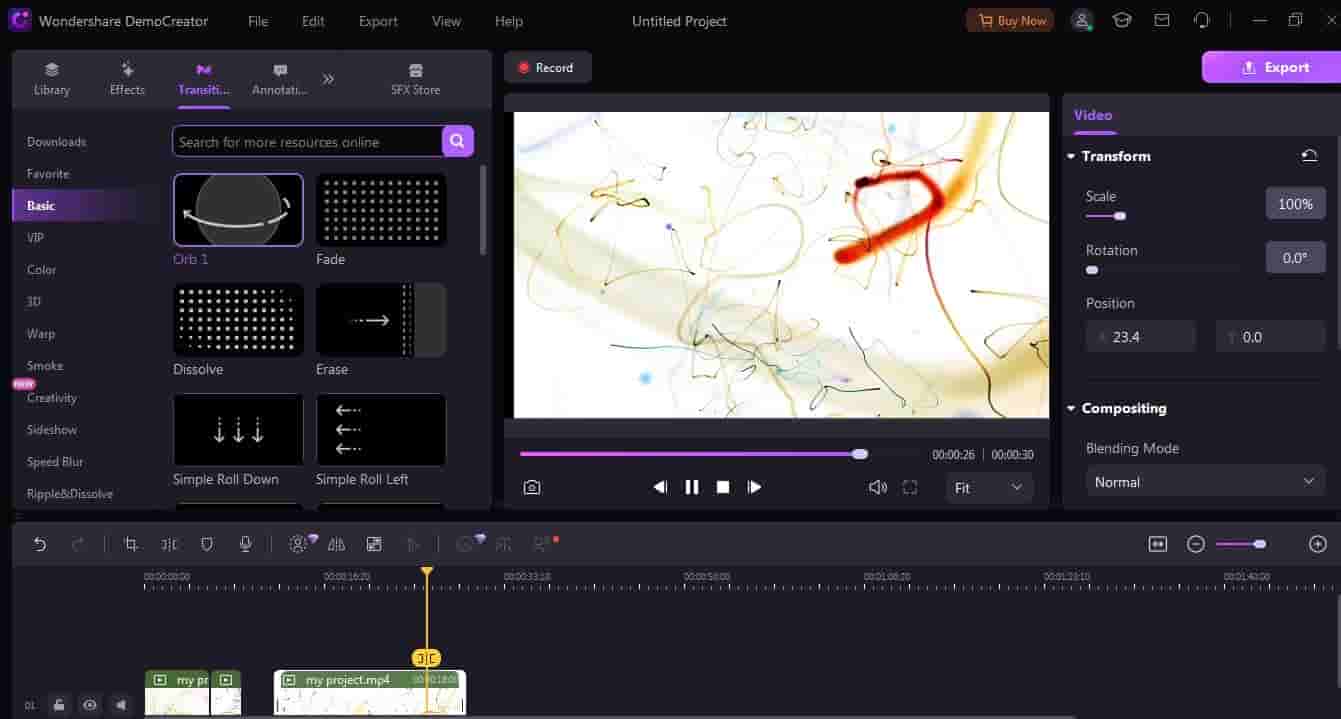
Step 4: Add Transitions
You can smooth the jump between two video clips. Click on the “Transition Tab” in the toolbar. Choose the transition effect that best fits your video.
In the timeline, drag and drop the chosen transition between two video segments.
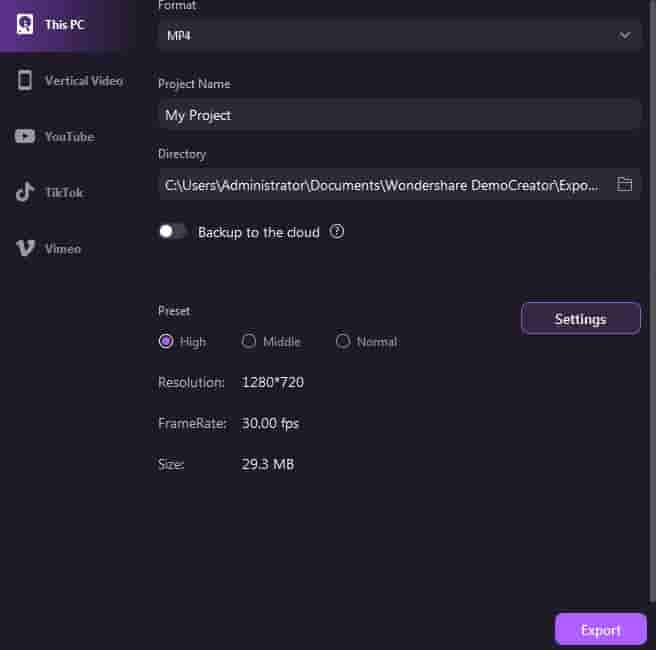
Step 5: Export your Edited Video
After finishing the editing process, it’s time to export your edited video.
To do so, click the “Export” button located in the toolbar. Select the quality, resolution, and output format you want for your video. Now, click the export button.
Didn’t you find this tool quite convenient to use? So, look no further! Check out the complete free tools list at the below link:
https://democreator.wondershare.com/screen-recorder.html
Conclusion
To conclude, you can share a wide range of content with ease using a screen recorder. Follow our step-by-step tutorial on how to record screens on a PC using Wondershare DemoCreator and create awesome content for social media. So, why wait? Download this handy tool today and let your imagination run wild!
Reports: