You’re releasing your first app, or it’s been a while since you’ve done so. It’s not as simple as pressing a launch button to submit an app to the App Store, but it’s also not as difficult as it may appear.
Follow the steps below.
1. Code Signing: Create an iOS distribution provisioning profile and distribution certificate
- First, add your Developer Program account to Xcode if you haven’t already. From the top menu, select Xcode, then choose Preferences.
- Click on Accounts. In the bottom left corner of the window, press the + sign, then Add Apple ID…
- Enter the Apple ID and password you use for the Apple Developer Program, then click Sign In.
- Next, enable automatic signing. From the Project Editor, choose a target and select General.
- Scroll down to the “Signing” section and click on the triangle icon to expand the settings.
- Click on the box to Automatically manage to sign. Select your team.
When you attach a new device to your Mac, Xcode detects it and adds it to your team provisioning profile automatically. It’s worth noting that in order for your app to run on a device, the device must be registered on your team provisioning profile.
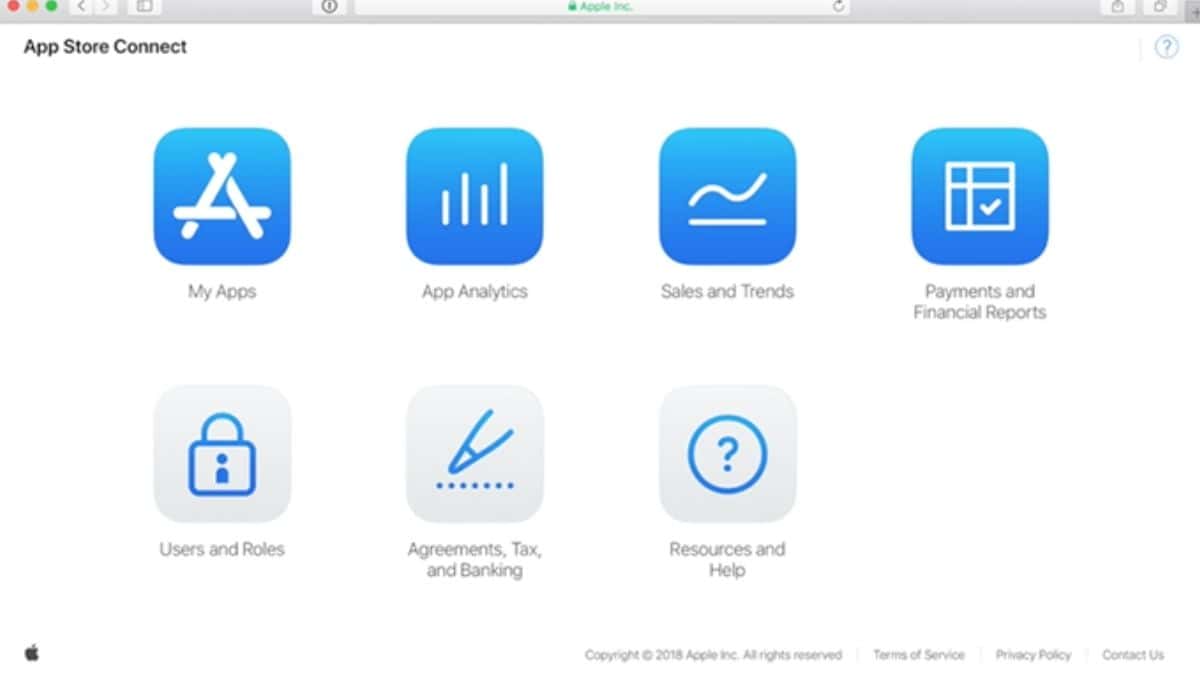
2. Create an App Store Connect record for your app
- Select My Apps from the App Store Connect dashboard.
- In the upper left-hand corner, click the + sign, then New App.
- You’ll need the following information to create a new App Store Connect record: platform, app name, default language, bundle ID, and SKU. You won’t be able to modify these details later, so be careful.
- To make your app more discoverable, include keywords in the name.
The bundle ID must match the bundle identification in your Xcode project Info.plist file (General > Identity section of the target).
Users will not be able to see the SKU, and it is up to you to set it. It could be a firm identity or something else that has personal importance for you. Acceptable characters include letters, numbers, hyphens, periods, and underscores, and it must begin with a letter or number. - If applicable, you can also set user access at this step.
3. Archive and upload your app using Xcode
- You must upload the build through Xcode before submitting your app for evaluation through App Store Connect.
- Select Generic iOS Device as the deployment target in Xcode.
- From the top menu, select Product and then Archive.
- The Xcode Organizer will open, revealing any previous archives you’ve generated.
- Make sure the current build is selected, then click the right-hand panel’s Upload to App Store button.
- Choose your credentials from the drop-down menu.
- Click Upload in the bottom right-hand corner of the next window that displays.
- When the upload is complete, a success message will show. After that, click Done.
4.Configure your app’s metadata and further details in its App Store Connect record
- On the “Pricing and Availability” page, make your app free or choose a price tier.
- You can configure any App Store technology in your app, such as Game Center and in-app purchases, under the “Features” page
- In the left-hand panel under “App Store,” your app is indicated with a yellow dot and the state “Prepare for Submission.” Choose the build you want to customise. This is where you’ll fill in the details for your App Store product page.
- Screenshots of your software should be uploaded (in JPEG or PNG format and without status bars). You can upload a group of screenshots for one device and then utilize them across all sizes.
- After your screenshots have finished uploading, click Save in the upper right-hand corner of the window.
- Fill in your app’s description, keywords, support URL, and marketing URL by scrolling down.
- The description and keywords for your app are quite important. Make sure they’re search engine friendly.
The support URL might be as simple as a contact form on a landing page.
The marketing URL is optional and can be your app’s website. - Upload your app’s icon and provide its version number, as well as copyright and contact information, in the “General App Information” box below.
- The icon for your app should be 1024px x 1024px in size.
- The version number in Xcode should match perfectly.
- “Copyright (c) 2017, Instabug, Inc.” is the most common copyright information.
- Users will see the contact information you enter here.
- Select the appropriate choices for your app by clicking Edit next to “Rating.” Be truthful; if your app doesn’t match its rating, it may be rejected during the evaluation.
- Enter your contact information, any notes you have for the reviewer, and the version release date in the “App Review Information” area.
- The reviewer’s contact information is listed here in case they need to contact you directly.
- Details regarding specific gear they may need to utilize or user account information they may require for access can be included in the reviewer’s notes.
- For first releases, the version release date should usually be set to automatic.
- Click Save in the upper right-hand corner. You’re almost ready to hit the “Submit for Review” button.
5. Submit your app for review
- Scroll to the “Build” section in your app’s App Store Connect record.
- Select “Select a build before submitting your app” from the drop-down menu.
- Select the Xcode build that you’ve uploaded. Then click Done in the bottom right corner, Save in the top right corner, and Submit for Review.
- Finally, click Submit after answering the questions about Export Compliance, Content Rights, and Advertising Identifier
6.Check on the status of your app
- In App Store Connect, select Activity in the top horizontal menu, then App Store Versions in the left-hand panel.
Approval usually takes one to three days, and it can take up to 24 hours for your app to show in the App Store after it has been approved. Here’s a look at the current average app store review times.
At each level, you’ll get an e-mail notification. Here’s where you can learn more about each status.
You can request an accelerated review if you’re on a tight deadline and need to time your release with a certain event or if you need to release a new version with an urgent bug patch.
