Windows 11 is the most recent major release of Microsoft’s Windows NT operating system, and it will be available in October 2021. It’s a free upgrade to its predecessor, Windows 10 (2015), and it’s available for any Windows 10 device that meets the new Windows 11 system requirements.
It includes a slew of exciting new features. However, some users may experience lag as a result of the upgrade. If you’ve recently upgraded to Windows 11 and have been frustrated by your PC’s slow performance, you’ve come to the right place. You should not be disappointed if your PC appears to be running slow after upgrading to Windows 11. Slow performance is frequently caused by unnecessary temporary files and unused programs, so there are numerous ways to make Windows 11 faster.
Make More Storage Space Available
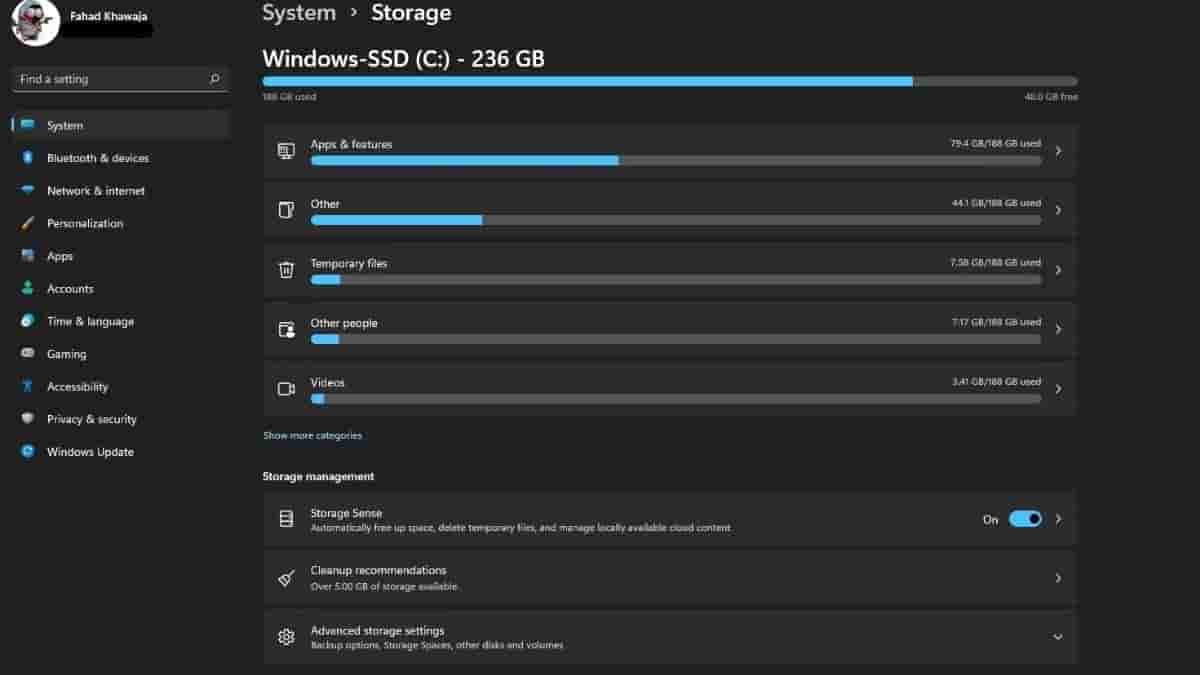
If your PC is running out of storage space, this could be the cause of its slow performance. Here’s how to free up storage space and improve the performance of Windows 11:
- Launch the Start menu, type Settings into the search bar, and then select the Best match.
- Select System from the sidebar, and then click the Storage tab.
- When you click Temporary files, you’ll see a list of temporary files in various folders on your PC.
- Go through the list and cross out any items that appear unnecessary. You can delete Windows Update Cleanup files as well as any unnecessary files from the Downloads folder.
- After you’ve made your choice, click Remove files.
- Return to Storage and delete any unnecessary files in the remaining categories.
- Restart your system to let the changes take place.
Unwanted Programs Must Be Removed
It is quite common to have a large number of unused programs installed on your system. Uninstall any software that was installed without your knowledge as part of a bundled installation or any programs that you no longer require. Removing these unnecessary programs can significantly improve the performance of your computer.
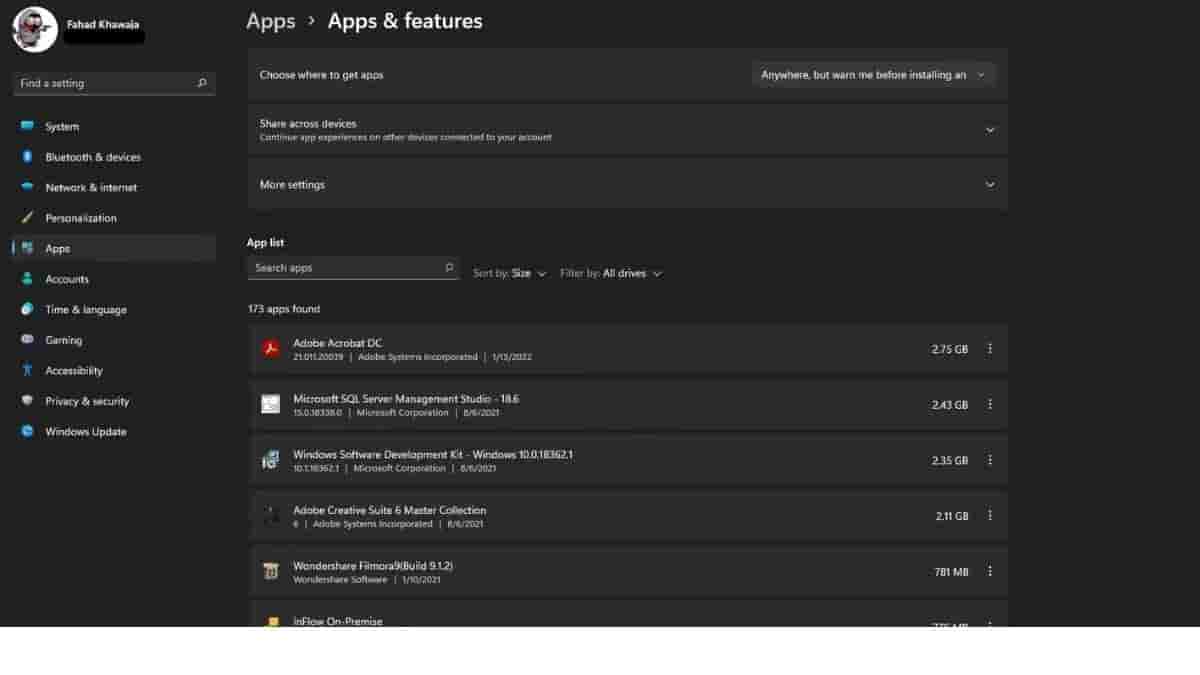
To uninstall unwanted programs from your Windows 11 system, follow these steps:
- Launch the Start menu, type Settings into the search bar, and then select the Best match.
- Select Apps from the sidebar, and then click the Apps & features tab.
- When you want to remove a specific program from the list of installed programs, select the three dots icon and click Uninstall. You can also uninstall pre-installed apps like Movies & TV, Weather, Xbox, and so on.
- Restart your computer after removing any unnecessary programs.
Storage Drives Should Be Defragmented
Defragmentation is the process of reorganizing files on your hard drive (or SSD) so that the operating system can place related data closer together. This significantly improves memory access times and speeds up Windows 11.
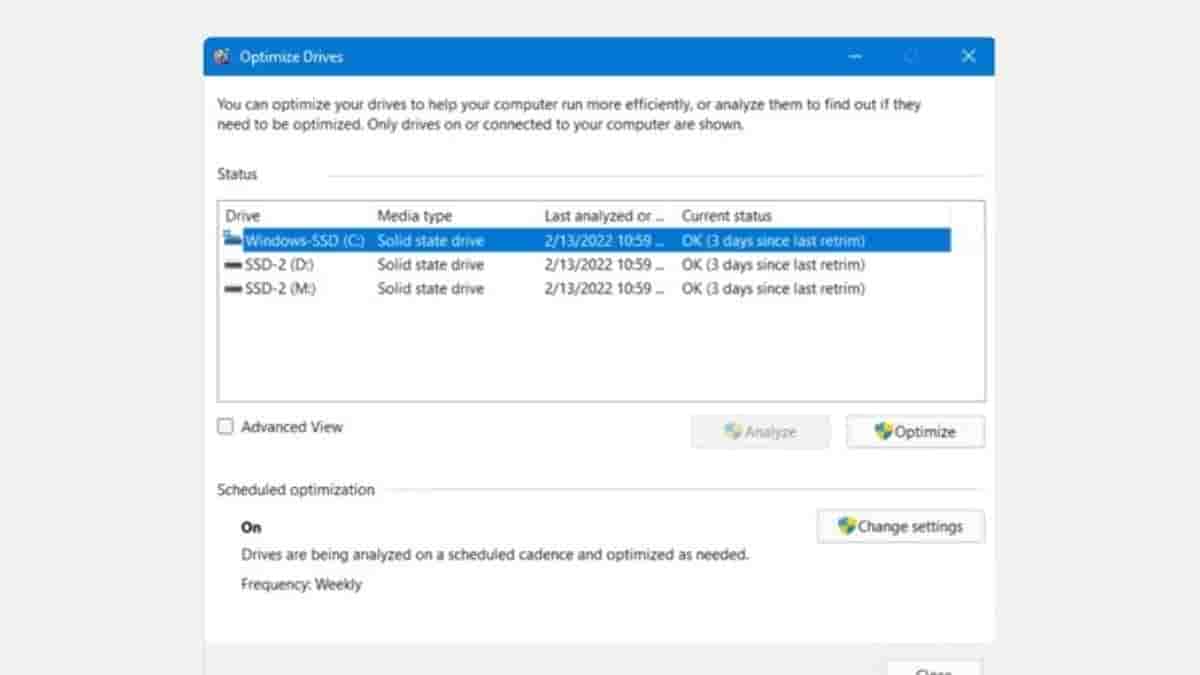
- To defragment drives on your Windows 11 PC, open the Start menu, type Defragment & Optimize Drives into the search bar, and select the Best match option.
- Select your primary drive from the list of drives and press the Optimize button.
- Wait for the process to finish before repeating the previous steps with the remaining drives.
- After defragmenting the drives, restart your computer for the changes to take effect.
Make use of a Windows Debloater
Pre-installed programs are typically useless junk that we rarely use. If your system has limited resources, these programs will tend to slow it down. Some pre-installed apps cannot be removed using the Settings app or the Control Panel, so you must use an unconventional method. Windows10Debloater is a Sycenex script designed to remove bloatware from Windows 10, but it can also be used on Windows 11.
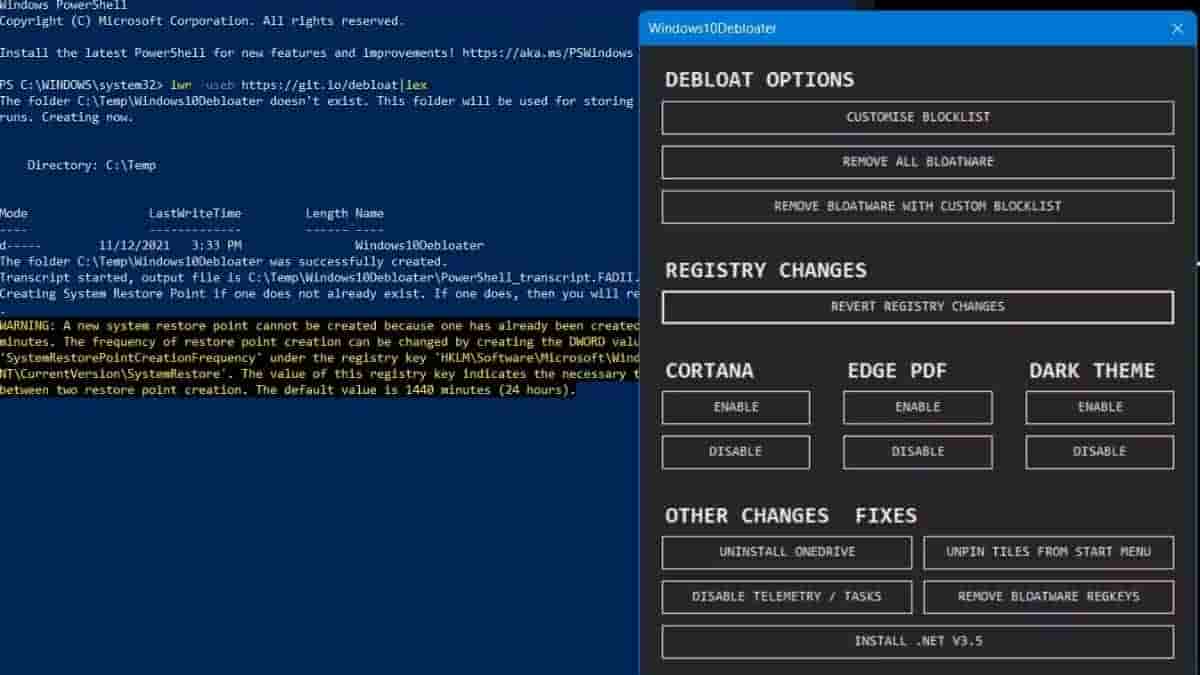
To use the debloat script, follow these steps:
- As an administrator, launch Windows PowerShell from the Start menu.
- Enter the following command to download the required package and automatically create a System Restore Point.
- Remove any unnecessary apps and services before restarting your computer.
Turn off Visual Effects
Windows 11 includes numerous UI elements that make the interface more appealing. Changing some visual effects and animations in Windows 11 can significantly improve system performance.
Here’s how to customize Windows 11’s visual and animation effects:
- Search for Visual effects in the Start menu and select the Best match.
- Using the toggle buttons, disable Transparency and Animation effects.
- From the Start menu, select Advanced System Settings.
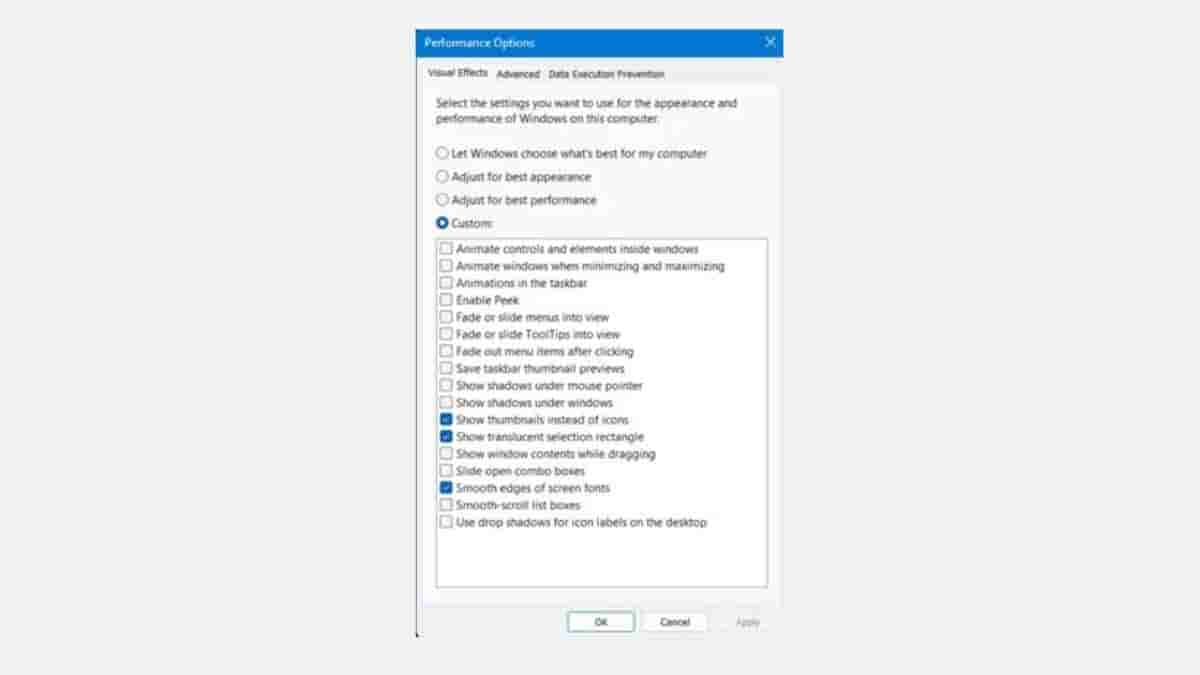
- Click the Advanced tab in the dialogue box, then Settings under Performance.
- Select Adjust for best performance in the Visual Effects tab.
- If you want to enable some effects, select Custom and then individually select the options you want.
- After you’ve made your choice, click Apply and then Ok.
Disabling visual effects will affect your visual experience, but they consume precious system resources that you can better utilize on older systems.
