Introduction
Ever come across animated videos on social media and thought, “I’d never be able to do that”? Well, think again. AI-based software has dramatically transformed the landscape, allowing everyone to create animations even without any prior design experience.
In this brief tutorial, we will show you how to create professional-looking animated videos only in 10 minutes. The best part is that even if you’re not a tech guru, do not worry. The use of a straightforward animated video maker allowing you to change your ideas into life.
Why Animated Videos Are Worth Your Time
Stronger engagement
Animated videos are attention-grabbers and keep the viewers engaged for a longer time which makes them far more effective than still images or text posts. The most suitable cases for them are explanatory videos, advertisements, social networks, and presentations where the goal is to communicate clearly and make an impact.
No need for design skills
Nowadays, simple tools and apps let you produce animations without any art and editing skills. It’s only your creative idea that counts and takes a few minutes to realize it.
Suitable for creators
Animation can work wonders for you if you are selling a product, promoting an idea, organizing a marketing campaign, or simply trying to get your brand recognized online. It is a very effective way of communicating your message to people in a memorable way.
What You’ll Need Before You Start
- If you are a PC user, a Mac person, or even a phone fan, almost any modern device will work.
- The core thought or message: Just one or two simple sentence phrases will be sufficient to start. Your animation software will aid you in turning it into visual content.
- Having a rough script or a few talking points can make the process even faster and smoother.
- Account on animation tool: Register for free or paying user friendly beginner animated video maker to build your artwork.
Step-by-Step: How to Create Your First Animated Video
Here’s how to create animated video with Filmora:
Step 1: Choose your animation tool
Begin by picking a tool that is simple enough for you as a beginner. You can try Filmora which comes with ready-made templates, drag and drop option, and various export formats.
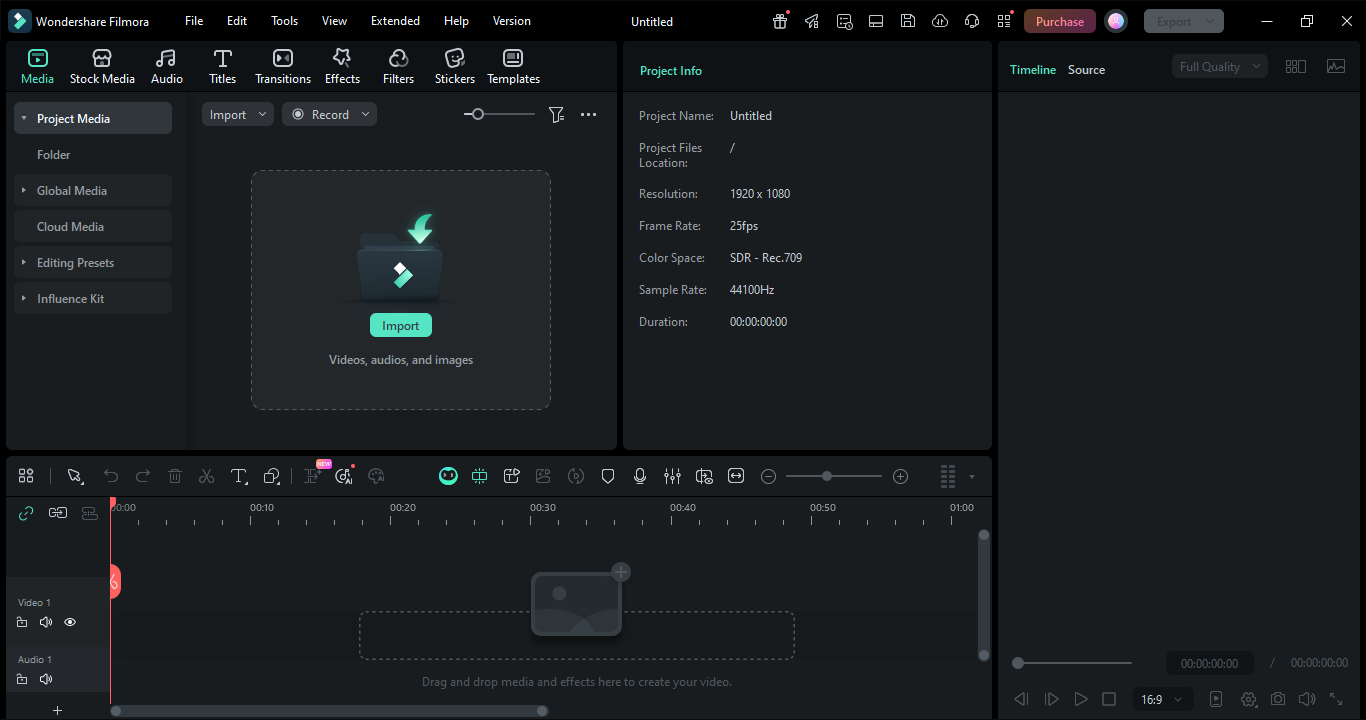
How to do this in Filmora:
Install Filmora and launch it. Create a New Project. Filmora is friendly for beginners and provides you with animations, templates, and presets for a wonderful first animated video experience.
Step 2: Pick a template that matches your goal
Choosing a template will help you save the design time. Select template that suits your objective most, e.g. explainer, promo, education, or social media.
Decide on a template in line with your target not merely based on how it looks.
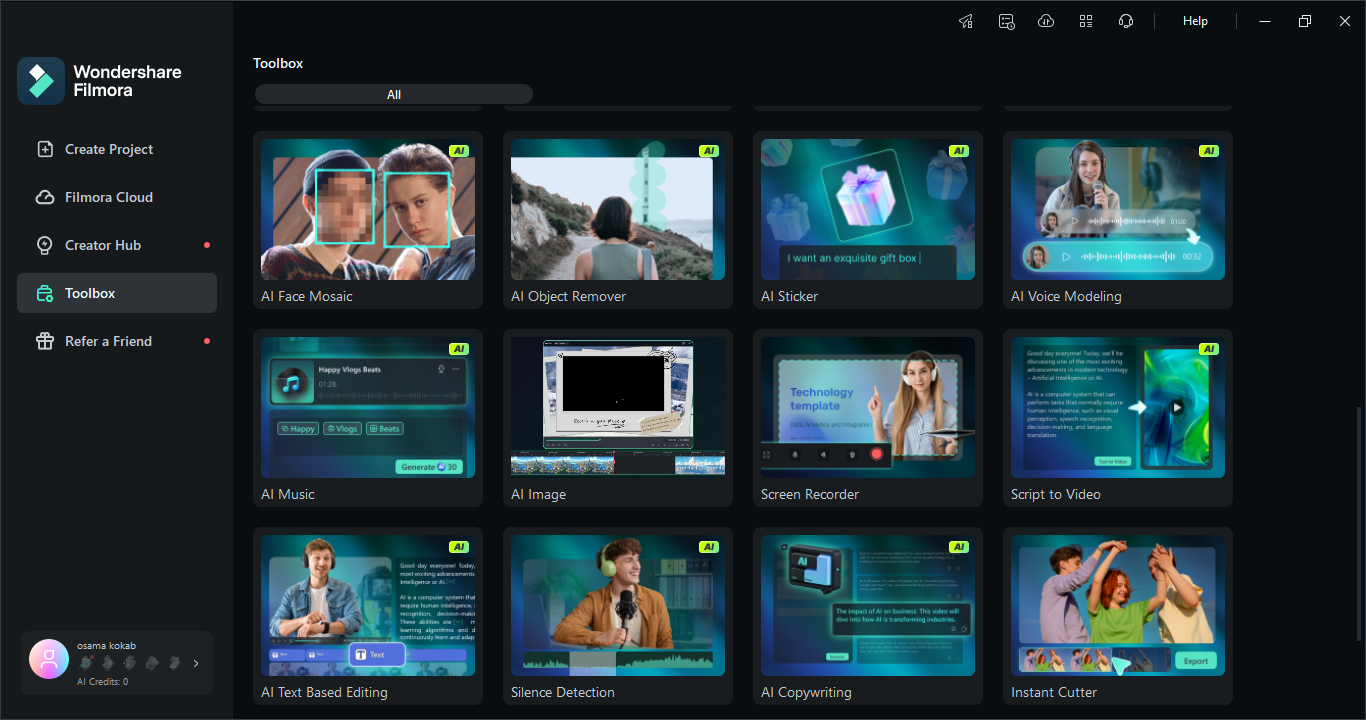
How to do this in Filmora:
You can choose templates for text, motion graphics and more in Filmora. Check out various templates that are pre-made for social media, promos, intros, explainers, etc. Or use the AI image generator to create cartoon characters and backgrounds.
Step 3: Customize your text and message
Swap the dummy transcripts for the actual ones you’ve prepared. Keep it concise and efficient: shoot for 5 – 8 words a frame. Animated videos are a perfect match for simple and straightforward language.
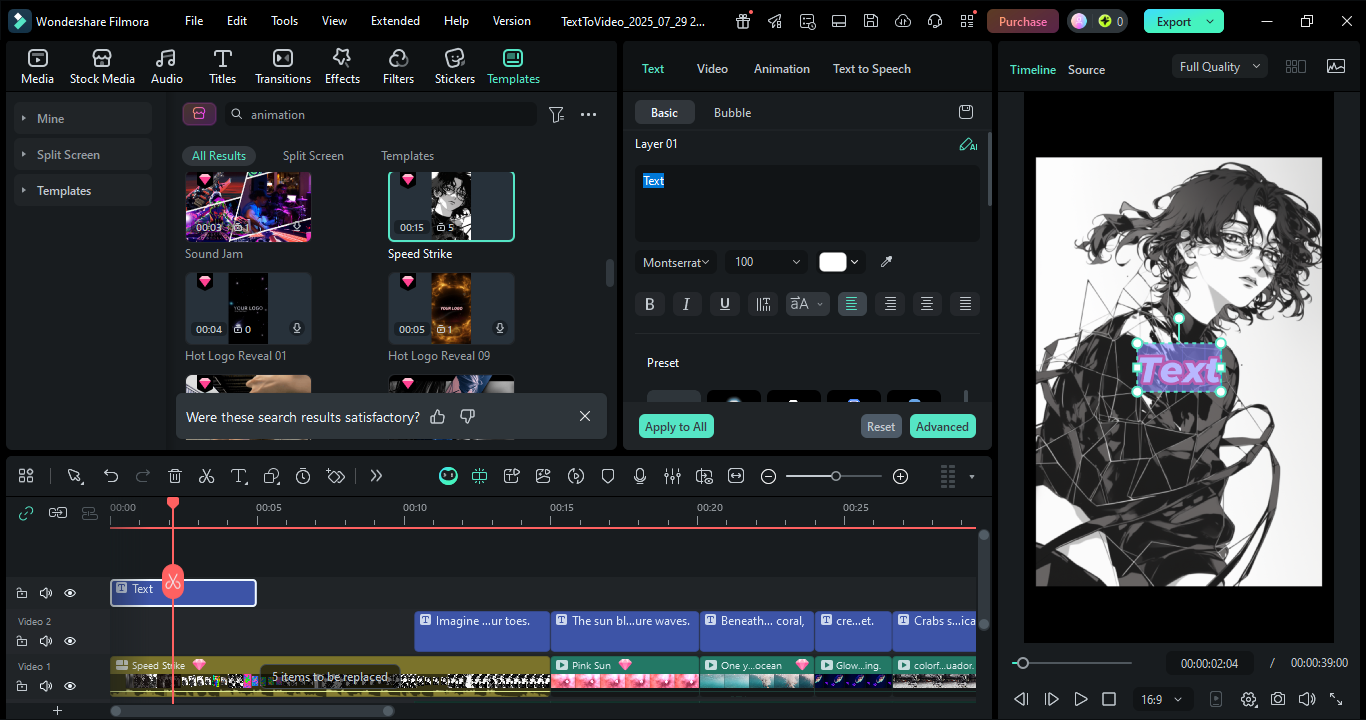
How to do this in Filmora:
Double-click any text layer on the timeline to edit it. Use the Text Editor to adjust fonts, colors, and alignment. Filmora’s clean text presets help keep your message readable even with short captions.
Step 4: Add visuals, characters, or icons
Discover the tool’s collection of characters, shapes, icons, and illustrations. Only add visuals that really back up what you’re saying and don’t make the screen too busy.
How to do this in Filmora:
Filmora offers Stickers, Elements along with a Stock Media Library containing lots of icons, graphics, and animated characters. Just drag and drop them into your video.
Step 5: Set your animation style and transitions
Choose motion effects like slide, fade, bounce, or zoom. Be sure to keep the transitions consistent in your video to get that polished, professional look.
How to do this in Filmora:
Add smooth slides, fades, and zooms through the Transitions panel. You can find Animation Presets under if you want to give text or objects some professional motion. Filmora also enables real-time preview which makes the amount of motion easy to control.
Step 6: Add music or voiceover
Select a music track from the tool’s library or you can just record your voiceover with your phone or laptop mic.
How to do this in Filmora:
Filmora’s large Royalty-Free Music Library is divided into different moods. For narration, hit Record Voiceover and talk to Filmora while it records your audio and syncs it with the timeline.
Step 7: Preview, adjust, and export
Before exporting, preview first. Check if the text is readable, animation is well-timed and audio levels are balanced.
How to do this in Filmora:
Watch your entire animation in the Preview Window. Make changes to the timing or audio via timeline tools, if necessary, then press Export and pick from MP4 or MOV.
Common Mistakes First-Timers Make (And How to Avoid Them)
Too much text on screen
Don’t overload your viewers with text. Stick to one message a scene so it is much easier to understand your words.
Different fonts and colors randomly
Mixing up many different styles will make your video seem amateur. You should follow the template style guide or if you want 2-3 colors only, keep it consistent.
Not using the preview
Most novices export immediately. Before downloading, you should watch the video all the way through to see if there are any timing issues or typos.
Making it too long
Less is more. The preferred length for most animated explainers, promos, or intros is 60 to 90 seconds.
Neglecting the sound
Don’t ever make your video completely silent. Even soft background music or a slight rhythm can increase the viewers’ attention and the quality of the video in their opinion.
Where to Use Your Animated Video
- Social media: Animated content is perfect for quick attention grabbing and interaction boosting when shared on Instagram Reels, TikTok, LinkedIn, and Facebook.
- Website homepage or landing page: Besides text, animated videos give you a great vehicle to communicate your product’s.
- Email marketing campaigns: Adding a short animation in your emails can not only increase your click through rates but also help make your campaigns more memorable.
- YouTube intro or explainer content: Whether it is subscribing animations for intro, tutorials or explainer videos they are increasingly becoming popular
- Internal presentations and training materials: Animated videos are used effectively in the team training videos and internal presentations to explain the not so easy concepts.
Conclusion
Making your first animated video is not very difficult. With clear concepts and the proper software, you can produce the final version of a video within minutes without having any designing skills.
Filmora makes it a lot easier by providing you with the templates that are already prepared, text and motion animations, and the editing tools which are simple so you can focus on your story rather than the technical things. Give it a try and soon you’ll have your first animated video at your fingertips.
